
(click to enlarge)
Part-1 - documenting the build of our NiWatt amplifiers.
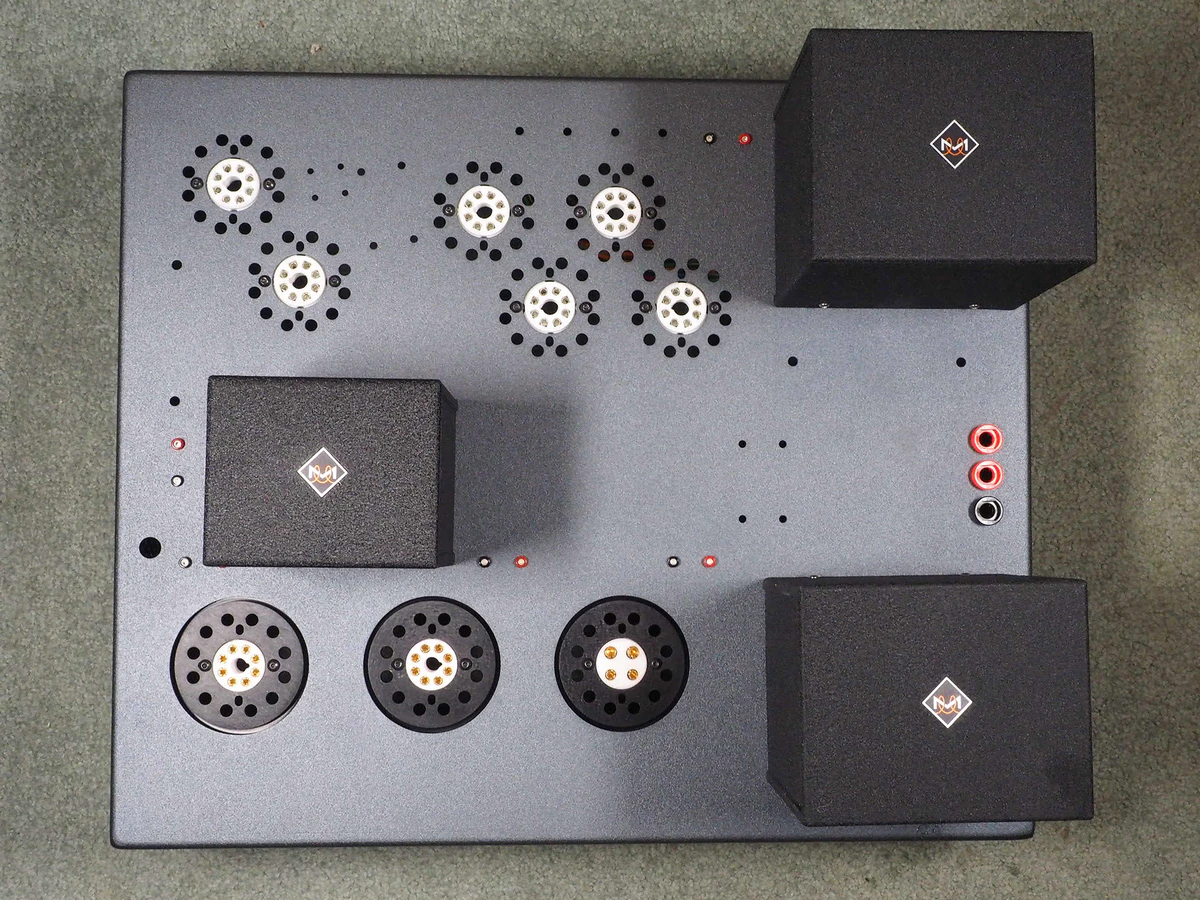
This top view photo shows the three Monolith transformers (power, interstage, output), test points, tube sockets, and binding post insulators.
The amp is configurable to switch between two different speaker impedances.
Connect the black (ground) speaker cable to the black binding post and the red cable to either red post #1 or red post #2.
Select (two choices) from 4, 8, or 16 ohm speaker impedance.
The test points are for:
- monitoring the current draw of the three signal tubes (input, driver & 300B output)
- monitoring the current dissipation of the voltage regulators
- tuning the 300B filament voltage
Directly heated triodes like the 300B are extremely sensitive to filament voltages and they vary from tube to tube. A series of 4 switches allows you to set the voltage, with the assistance of the test point.
The three signal tubes are mounted on a suspended subchassis to damp vibration (the black part at the bottom of the photo).
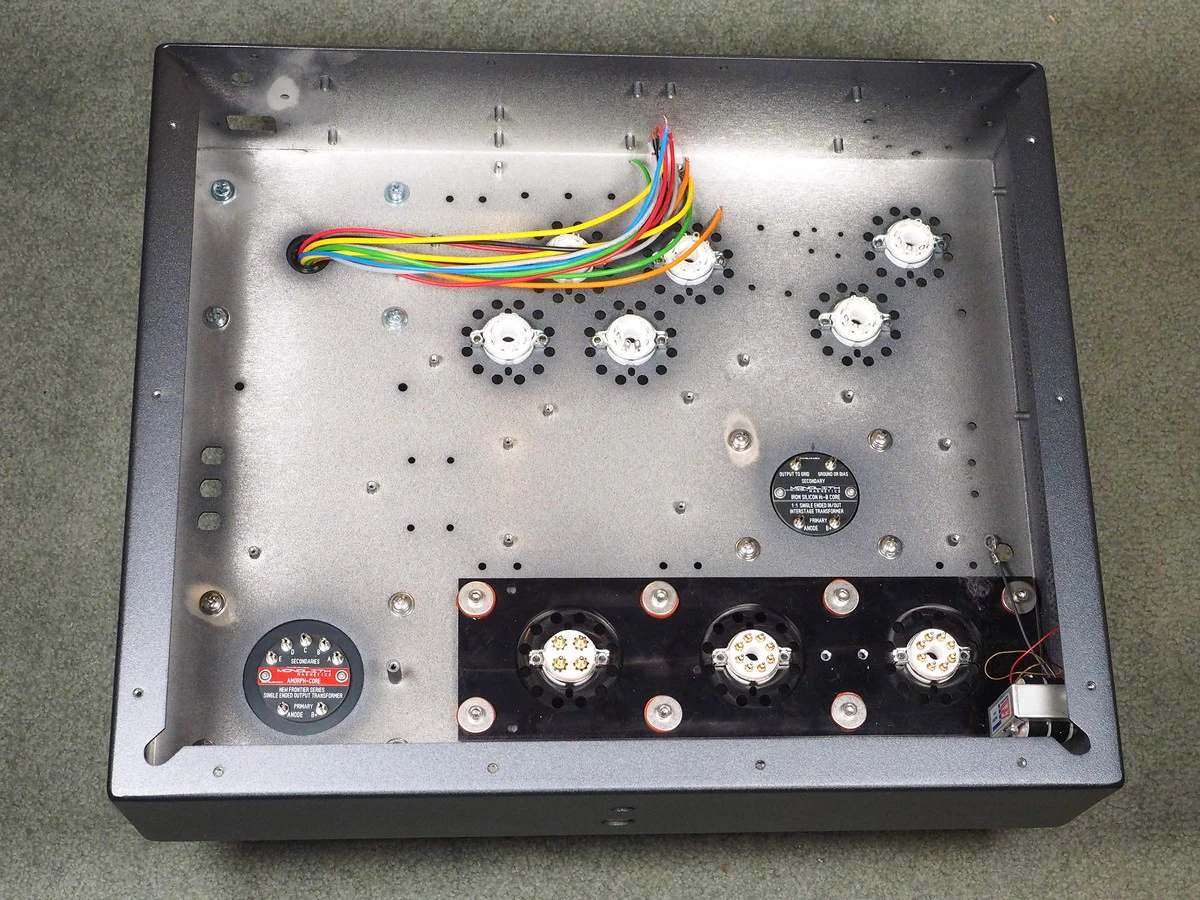
The bottom view shows the tube subchassis as well as all of the standoffs which will accommodate the three turret boards and wire routing anchor points.
Next, we'll be populating the three turret boards and will wire everything up.
(click to enlarge)
Click here for part-2, where the build is about 75% complete.


looking good!, Excited for the delivery.
It’s been a long journey, and the finish line is finally in our sites.