Savoie Update 2

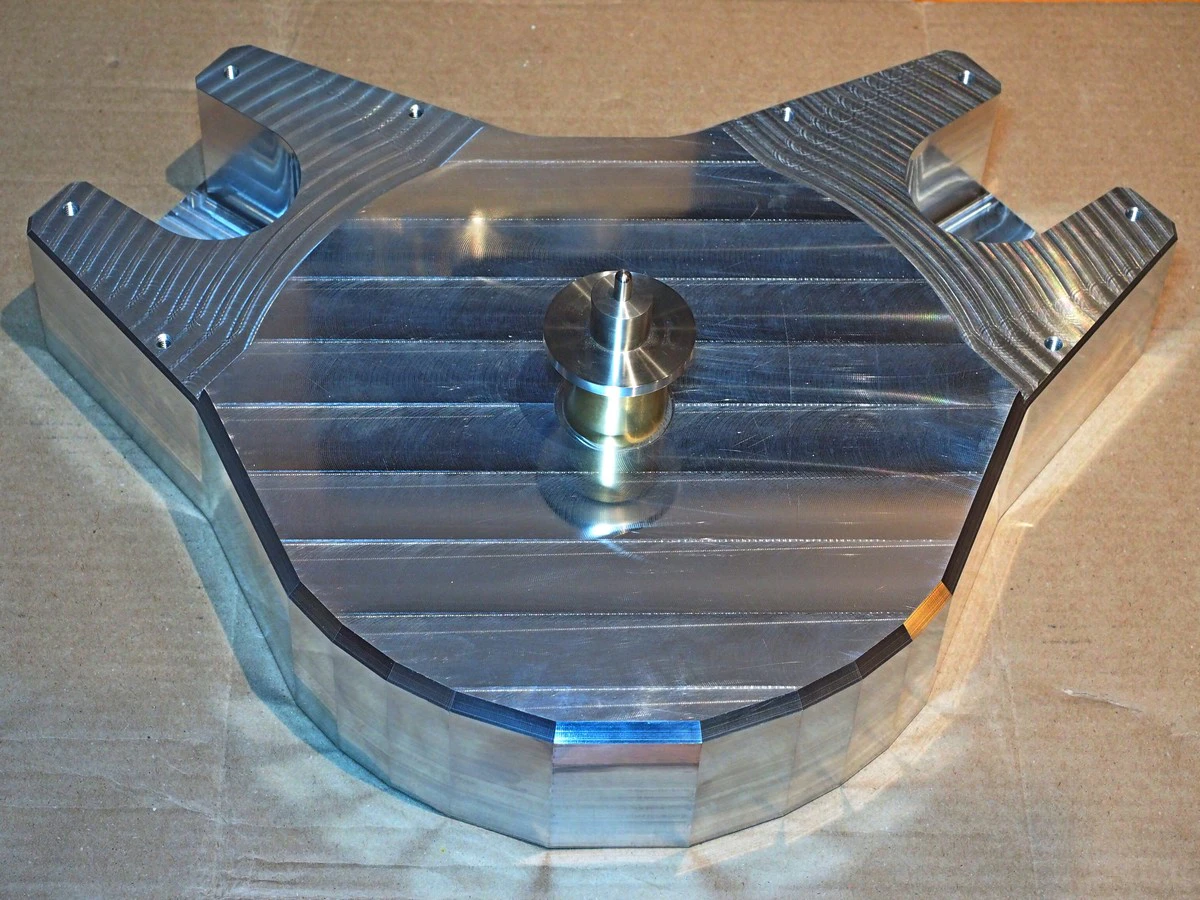
Galibier Design - Savoie Base QC -01

(click to enlarge)

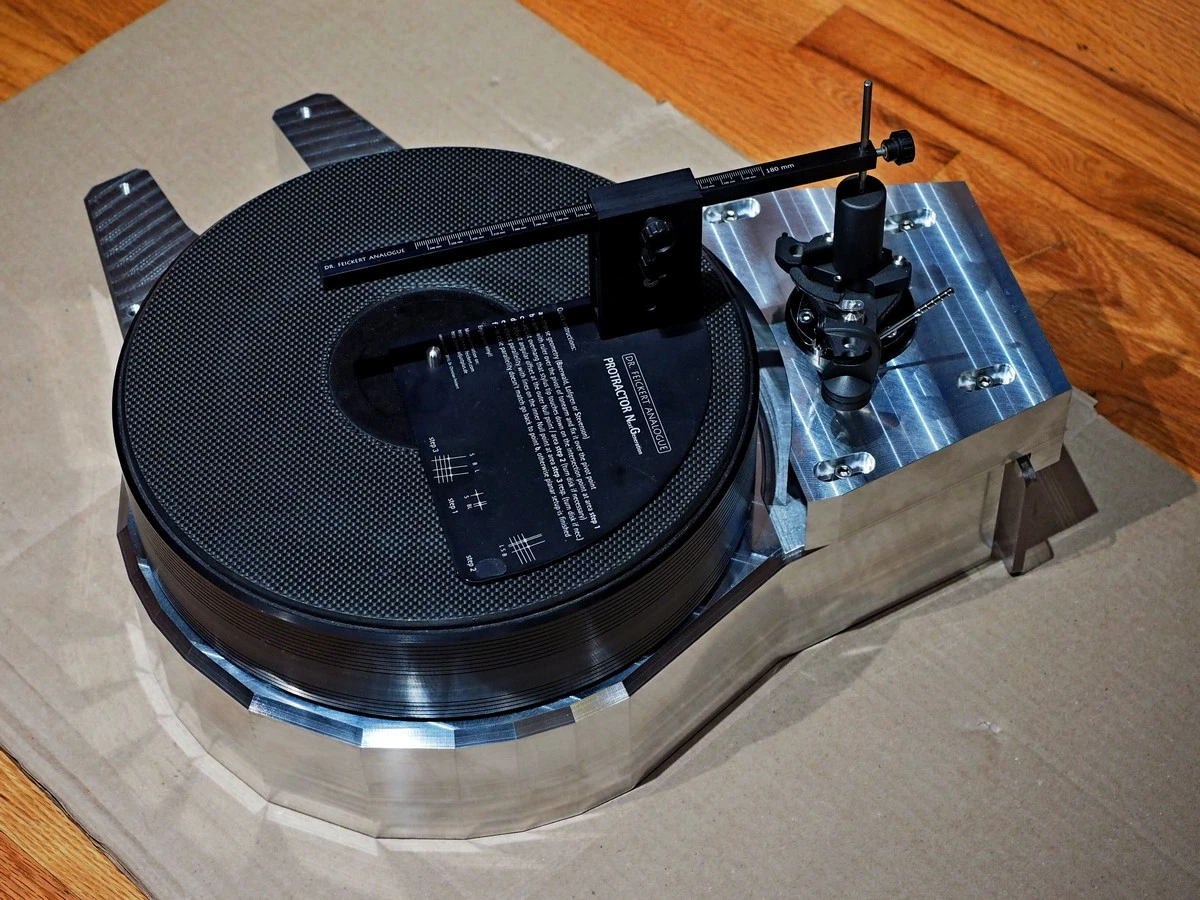
The Savoie build is underway.

Parts began flowing from our machinist last week, and today we received the bases.

The QC process is underway, and upon completion, we'll be bringing everything to our finsher.

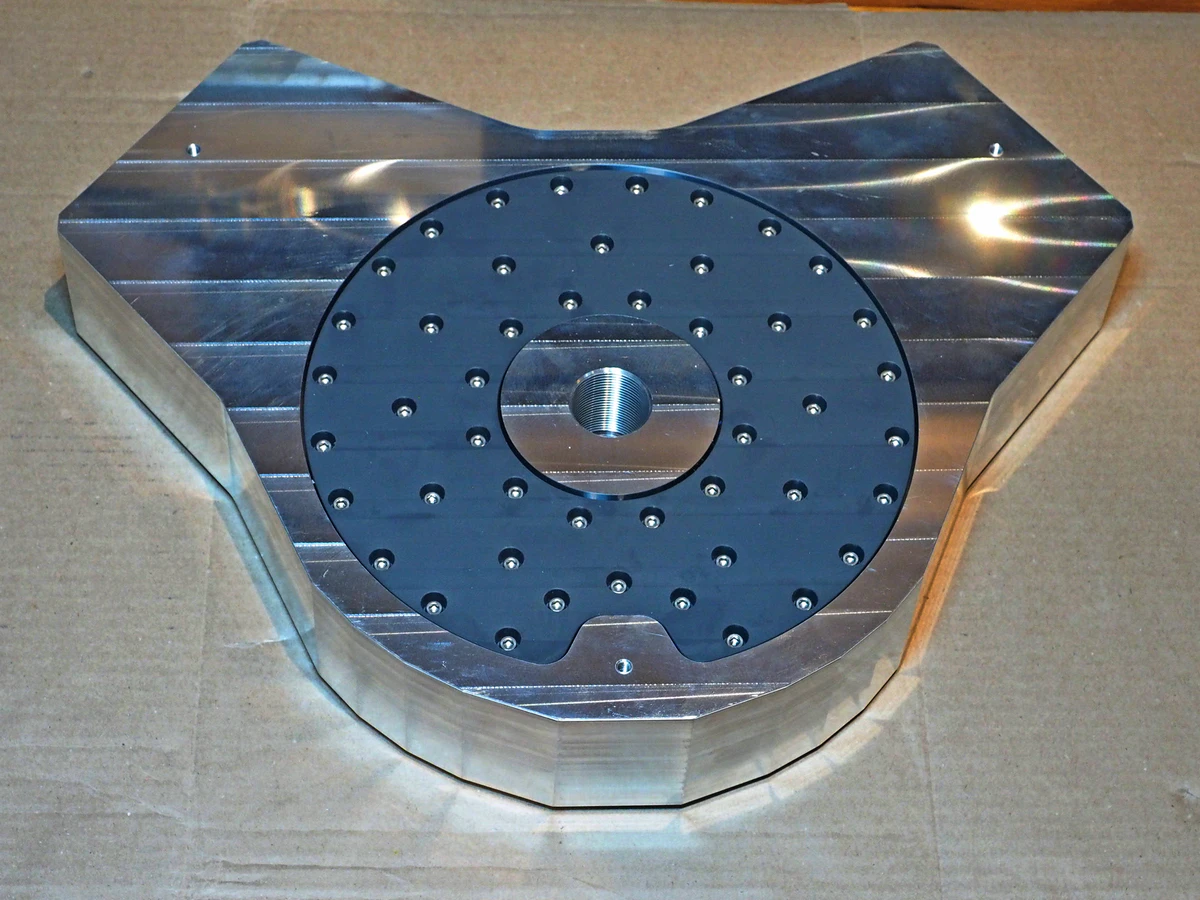
Shown here is the underside with the constrained layer damping plate installed for a test fit. 

All of the screws lined up!

The damping strategy builds on the success of the Stelvio turntable base.
Galibier Design - Savoie Base QC-02

(click to enlarge)

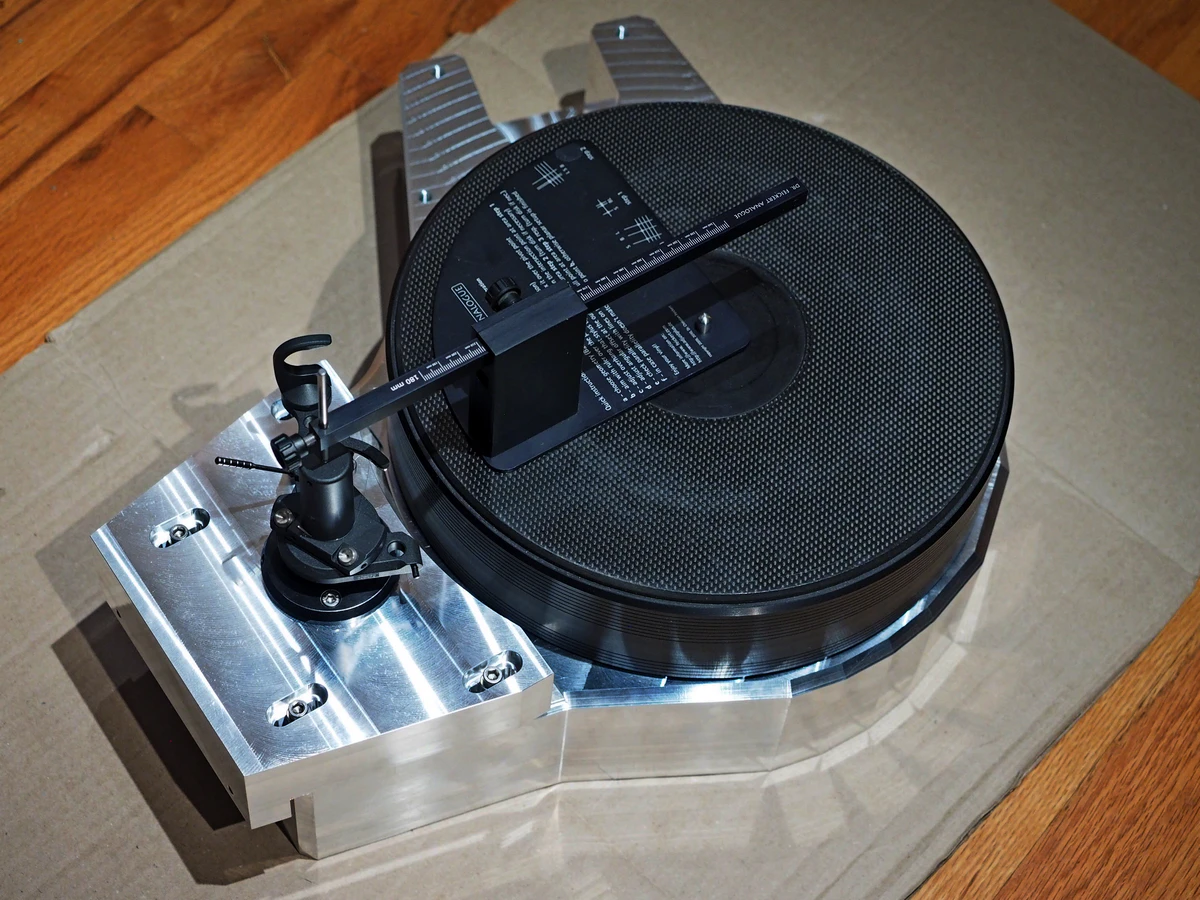
Next up, is inspection of the armboard mount for both correct fit and pivot to spindle distance.

No matter how many times you manufacture a part, inspection is critical.  Below, we verified left and right the armboard mounts for a Kuzma tonearm.  They were spot on!

Story time:

We just completed installation of an $85,000 turntable for a good customer.  Upon inspection, we observed two of the tonearm mounts were off by 1mm and the third mount deviated from specification by 4mm!

It gets worse.  The arm with the 4mm error was one that the manufacturer "bundles" with the turntable.  Names have been witheld to protect the guilty.
Galibier Design - Savoie Base QC-03

Left Mount - (click to enlarge)

Galibier Design - Savoie Base QC-04

Right Mount (click to enlarge)

Related Posts

Savoie Drive Calibration

Savoie Drive Calibration

NiWatt Amplifier Build – Part 3

NiWatt Amplifier Build – Part 3

NiWatt Amplifier Build – Part 2

NiWatt Amplifier Build – Part 2

A Pass Labs XA-25 Demo With Rockport Speakers

A Pass Labs XA-25 Demo With Rockport Speakers

Thom


Your Signature

{"email":"Email address invalid","url":"Website address invalid","required":"Required field missing"}

Never miss a good story!

 Subscribe to our newsletter to receive a sample setup report we created for a customer.

Subscribers also receive discounts on all accessories, including Audiodesk, Feickert and AnalogMagik. 


This report is in 3 sections:  


Documentation of the customers's setup and QC

30 pages packed with general setup information - tricks you may not have seen before
An appendix with a guide to tools and other setup tips, including how build your own azimuth gauge


Click the photo below, to subscribe.

Galibier Design - Setup Tools and Charts (Composite Photo)

Click for Free Setup Report