• Home
  • Blog
  • NiWatt Amplifier Build – Part 2

NiWatt Amplifier Build – Part 2

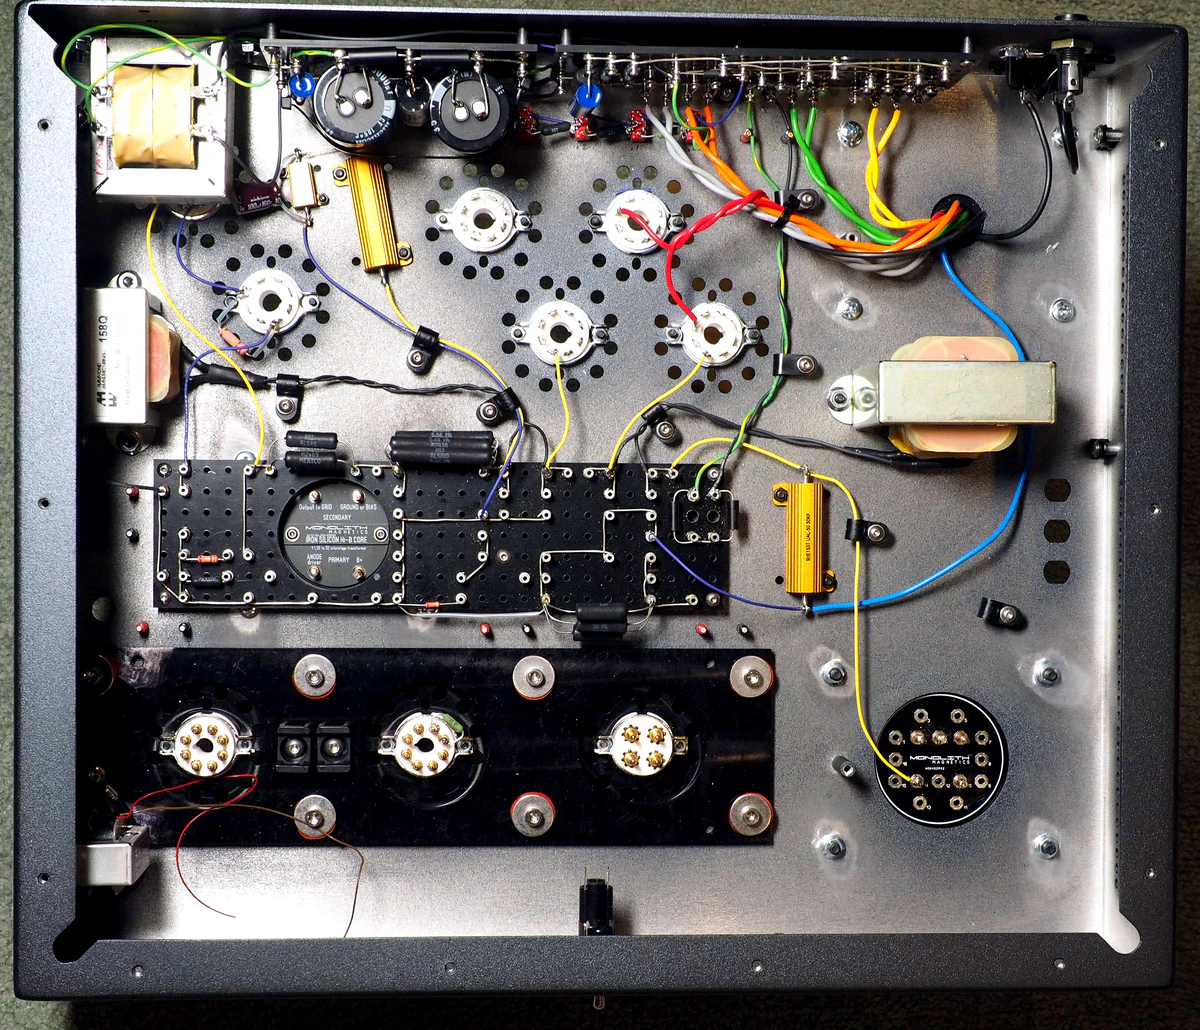
NiWatt Build in Progress (click to enlarge)

Part 2 of our NiWatt build log (installment #1 is here).  At this point, in the build, about 7 hours' work remains for each amplifier.  

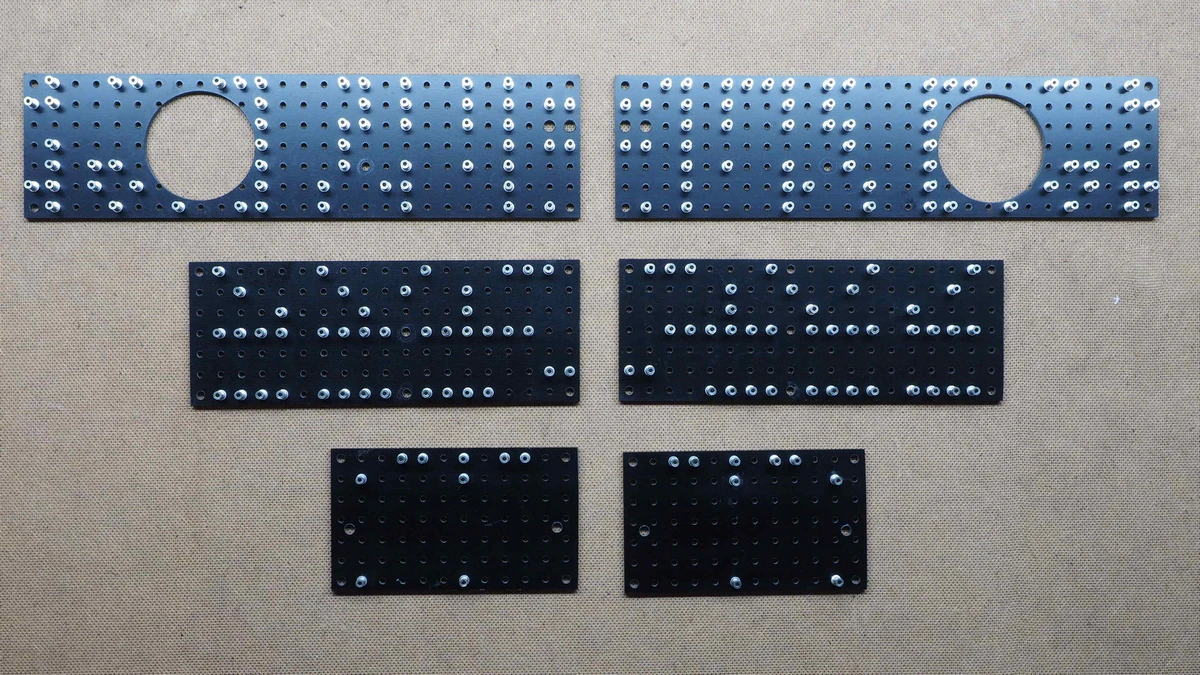
Shown here are the glass/fiber epoxy boards after "staking" the turrets: 3 boards for each amplifier.  

Preparing boards to the point shown here is 3 hours' work for each amp.

This is why you won't see this construction method in most amplifiers.  

It's the only way we'd build an amp for ourselves ... as well as for you!

Part-3 of the build is here.
Galibier Design - NiWatt Amplifier Build 2026 - 03

(click to enlarge)

Related Posts

Savoie Drive Calibration

Savoie Drive Calibration

NiWatt Amplifier Build – Part 3

NiWatt Amplifier Build – Part 3

NiWatt Amplifier Build – Part 2

NiWatt Amplifier Build – Part 2

A Pass Labs XA-25 Demo With Rockport Speakers

A Pass Labs XA-25 Demo With Rockport Speakers

Thom


Your Signature

{"email":"Email address invalid","url":"Website address invalid","required":"Required field missing"}

Never miss a good story!

 Subscribe to our newsletter to receive a sample setup report we created for a customer.

Subscribers also receive discounts on all accessories, including Audiodesk, Feickert and AnalogMagik. 


This report is in 3 sections:  


Documentation of the customers's setup and QC

30 pages packed with general setup information - tricks you may not have seen before
An appendix with a guide to tools and other setup tips, including how build your own azimuth gauge


Click the photo below, to subscribe.

Galibier Design - Setup Tools and Charts (Composite Photo)

Click for Free Setup Report