
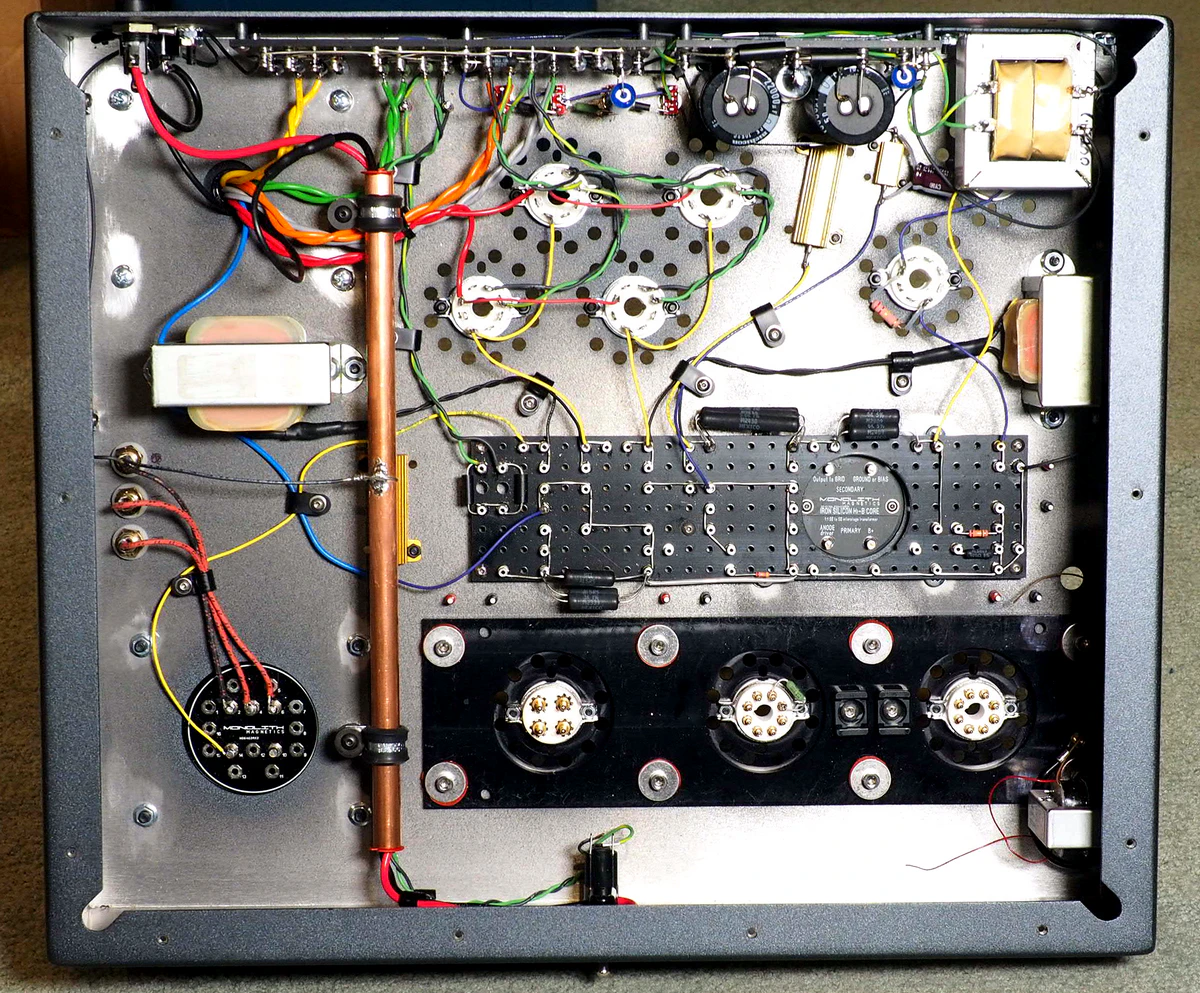
(click to enlarge)
This is part 3 of our NiWatt build log (installment #2 is here). We're nearing the finish line with about 3 hours' work remaining for each amplifier.
The observant reader will note that this is a photo of the right ampifier (note the binding post and output transformer location on the left side of the photo). In part-2, we photographed the left amplifier. They are mirror imaged to minimize the length of cable runs.
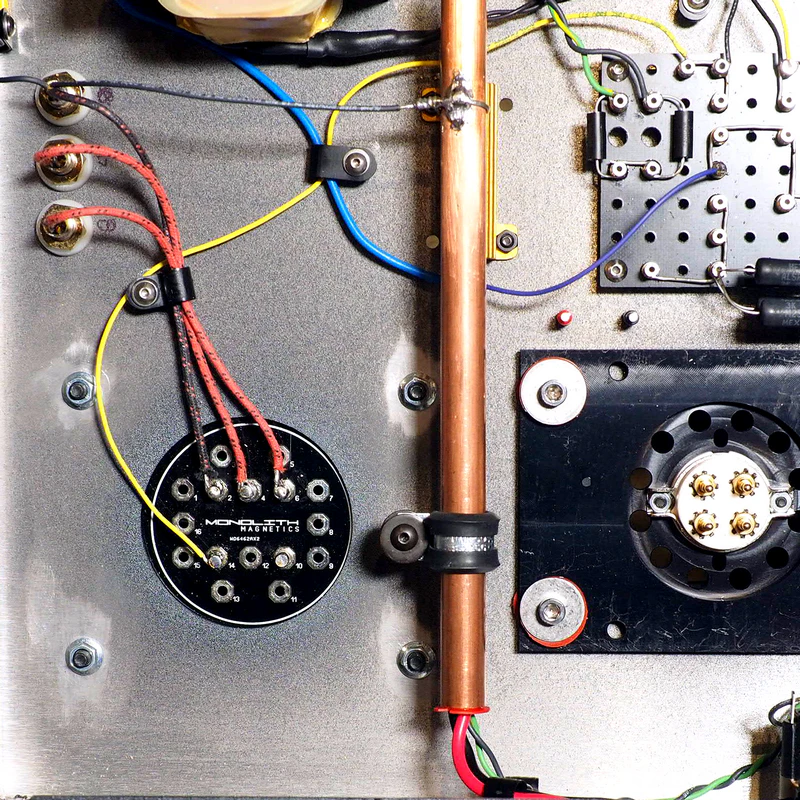
This phase completes the power supply section as well as the binding posts and output transformer wiring.
Remaining tasks address the "front" of the amp (the main board with the signal circuit and power supply filtering) along with installing the filament wires to the signal tubes.
Wiring the binding posts would appear to be a trivial task, but these Cardas posts are heat sinks and take quite a bit of time to get the solder to flow.
There are several other good candidates - low mass posts in particular. The downside to these posts is their fragility.
The last thing we want is for an amplfier to be shipped to us because someone has overtightened a binding post. It happens!
Shown in the center of this photo is the copper pipe which serves as a shield for stray AC from the filmament and power switch wiring.
Reflecting on this journey, here's a link to a post from 9 years ago where we laid out our key design goals. At the end of this post is a link to one where we document the early breadboarding process.
Stay tuned for the final installment.
(click to enlarge)

